Customization Overview
Learn how to customize Continue with model providers, rules, prompts, and tools
Continue can be deeply customized to fit your specific development workflow and preferences. This guide covers the main ways you can customize Continue to enhance your coding experience.
Change Your Model Provider
Continue allows you to choose your favorite or even add multiple model providers. This allows you to use different models for different tasks, or to try another model if you're not happy with the results from your current model. Continue supports all of the popular model providers, including OpenAI, Anthropic, Microsoft/Azure, Mistral, and more. You can even self host your own model provider if you'd like.
Select Different Models for Specific Tasks
Different Continue features can use different models. We call these model roles. For example, you can use a different model for Chat mode than you do for Autocomplete.
Create Custom Prompts
Create custom slash commands and prompt templates to streamline your workflow.
Configure Rules
Set up rules to guide AI responses and ensure consistent behavior across your codebase.
Call External Tools and Functions
Give your agent the power of tools using Agent mode in the extensions or add custom tools to your agent using MCP Servers.
Deep Dives
Detailed technical explanations of Continue's internal workings and advanced configuration options.
Reference
Complete configuration reference and API documentation.
Whatever you choose, you'll probably start by editing your configuration.
Edit Your Configuration
You can easily access your configuration from the Continue Chat sidebar. Open the sidebar by pressing
cmd/ctrl + L (VS Code) or cmd/ctrl + J (JetBrains) and click the Agent selector above the main chat input. Then, you can hover over an agent and click the gear icon.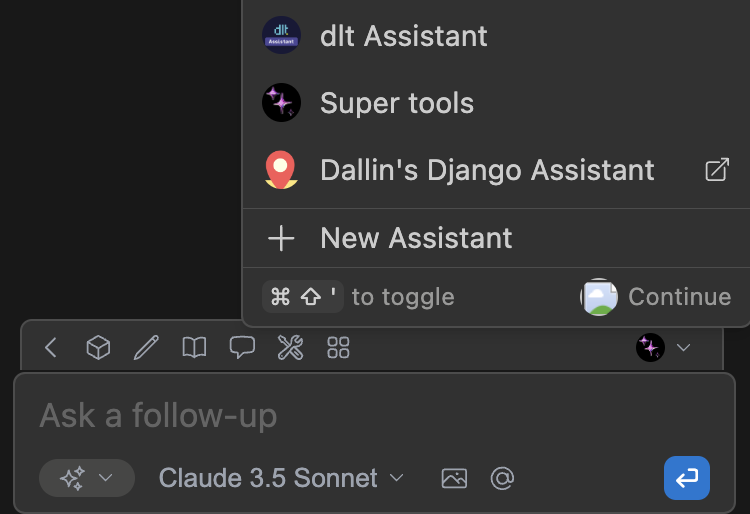
Manage Your Configuration
- See the Config Deep Dive for more details on configurations